The Art of Pysanky
The Art of Pysanky
Learn more about the art of Pysanky Eggs
This is an excerpt from How to Decorate Beautiful Ukrainian Easter Eggs "Pysanky" by Luba Perchyshyn. This pamphlet is available from our online store.
Ukrainian Easter Egg Decorating has been handed down through generations of the Ukrainian people. They are famous the world over for their colorful Easter Eggs (Pysanky). Over 2000 years ago, before the time of Christ, people decorated eggs believing that great powers were embodied in the egg. Eggs symbolized the release of the earth from the shackles of winter and the coming of spring with its promise of new hope, new life and prosperity. With the advent of Christianity, Easter eggs symbolize the Resurrection and a promise of eternal life. Legend has it that as long as pysanky are decorated, goodness will prevail over evil throughout the world.
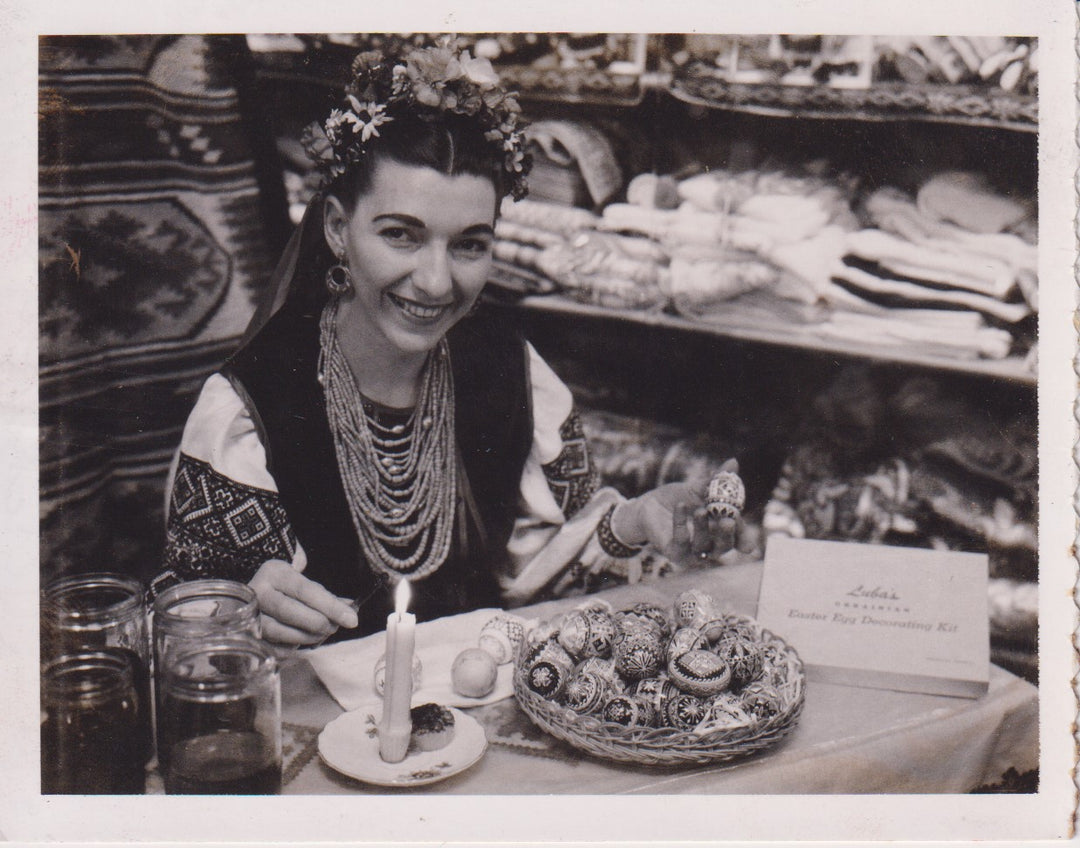
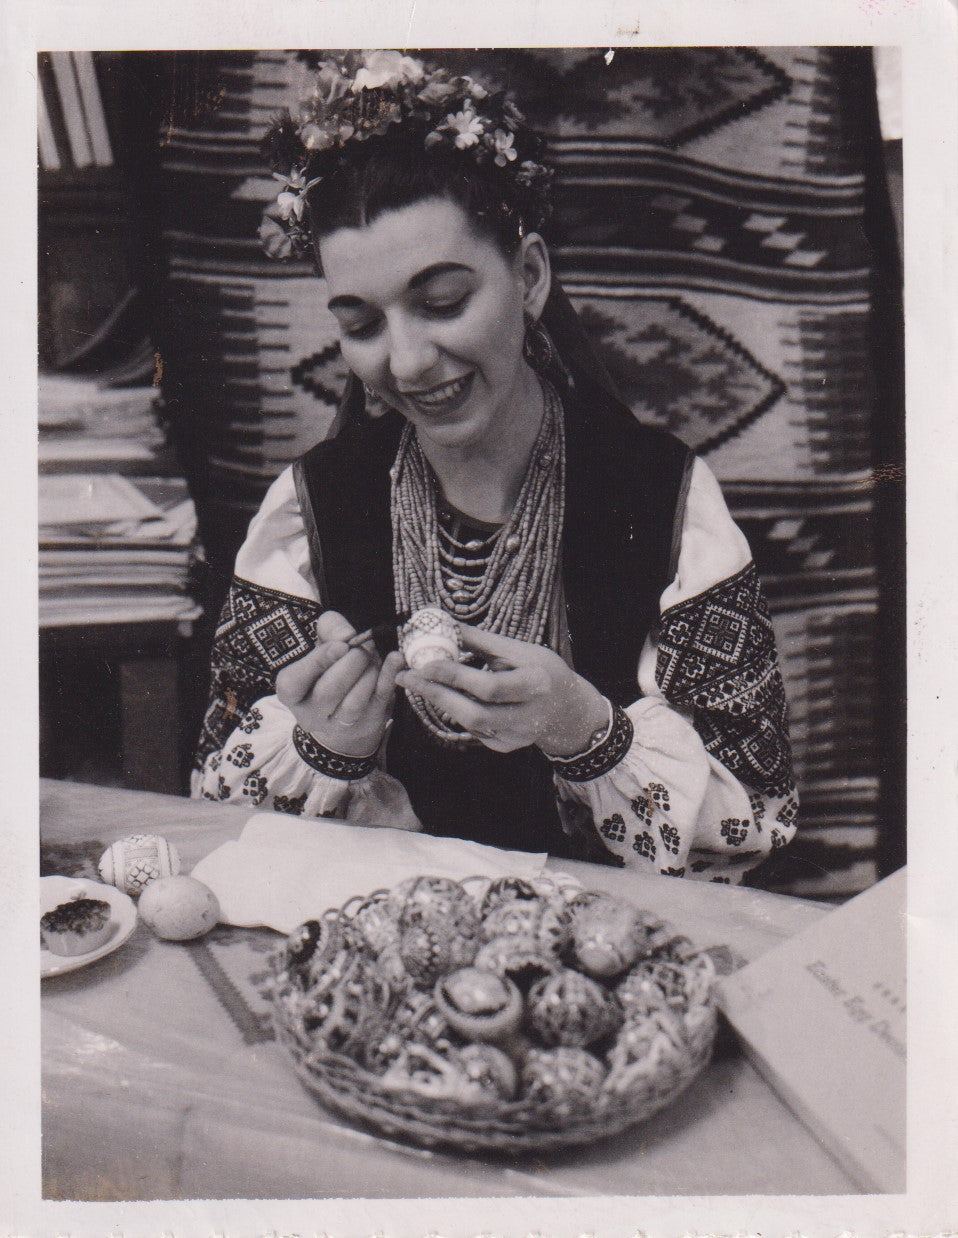
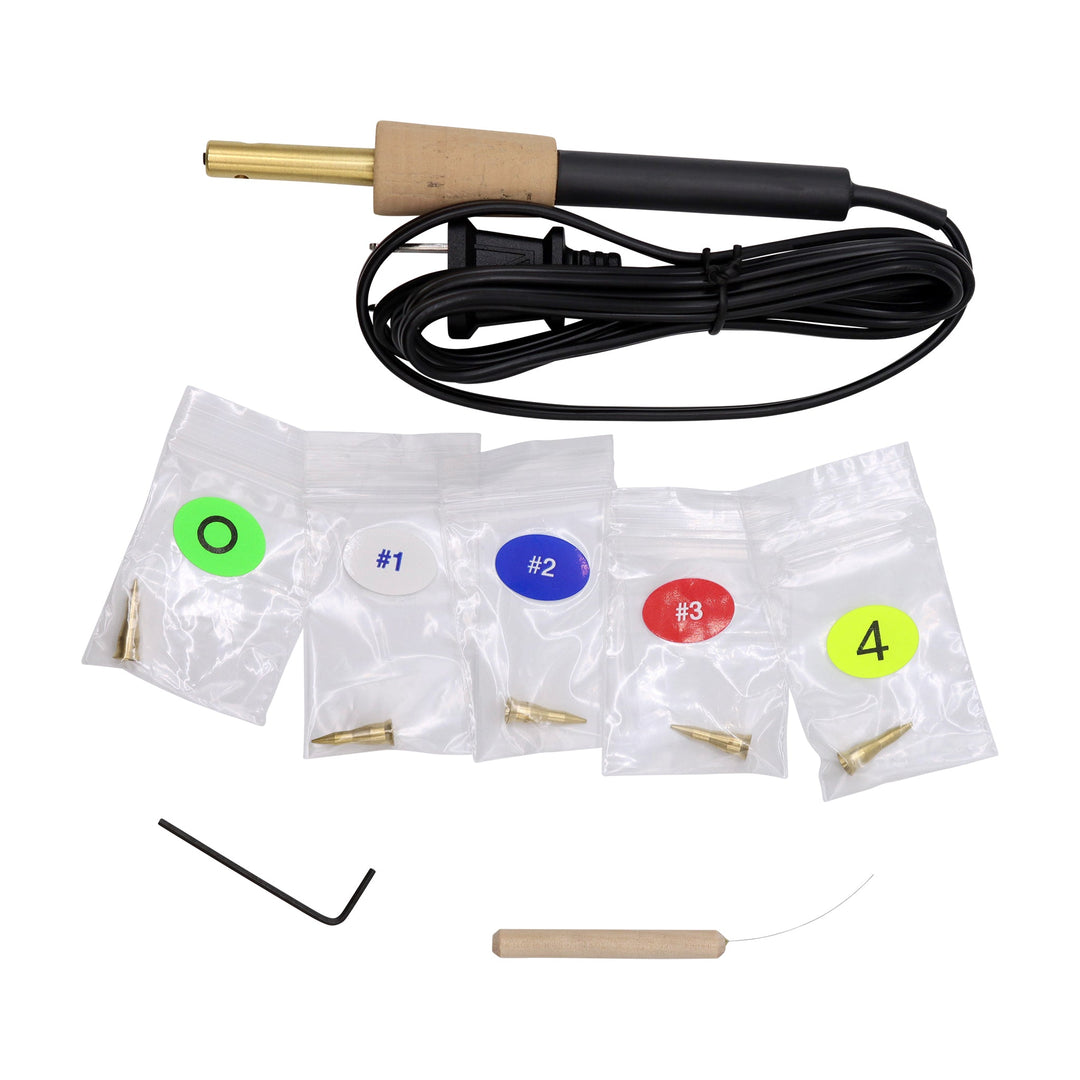
Marie Procai, founder of the Ukrainian Gift Shop, made her first writing tool (kistka) using the metal tip of a shoelace. After she married Tony Procai, he made the tools for her and their family. He made copper cones and pushed them through a wooden dowel. Then he bound the copper cone and dowel together with copper wire. This style kistka is still hand made by the Ukrainian Gift Shop, Inc. They are the traditional kistky.
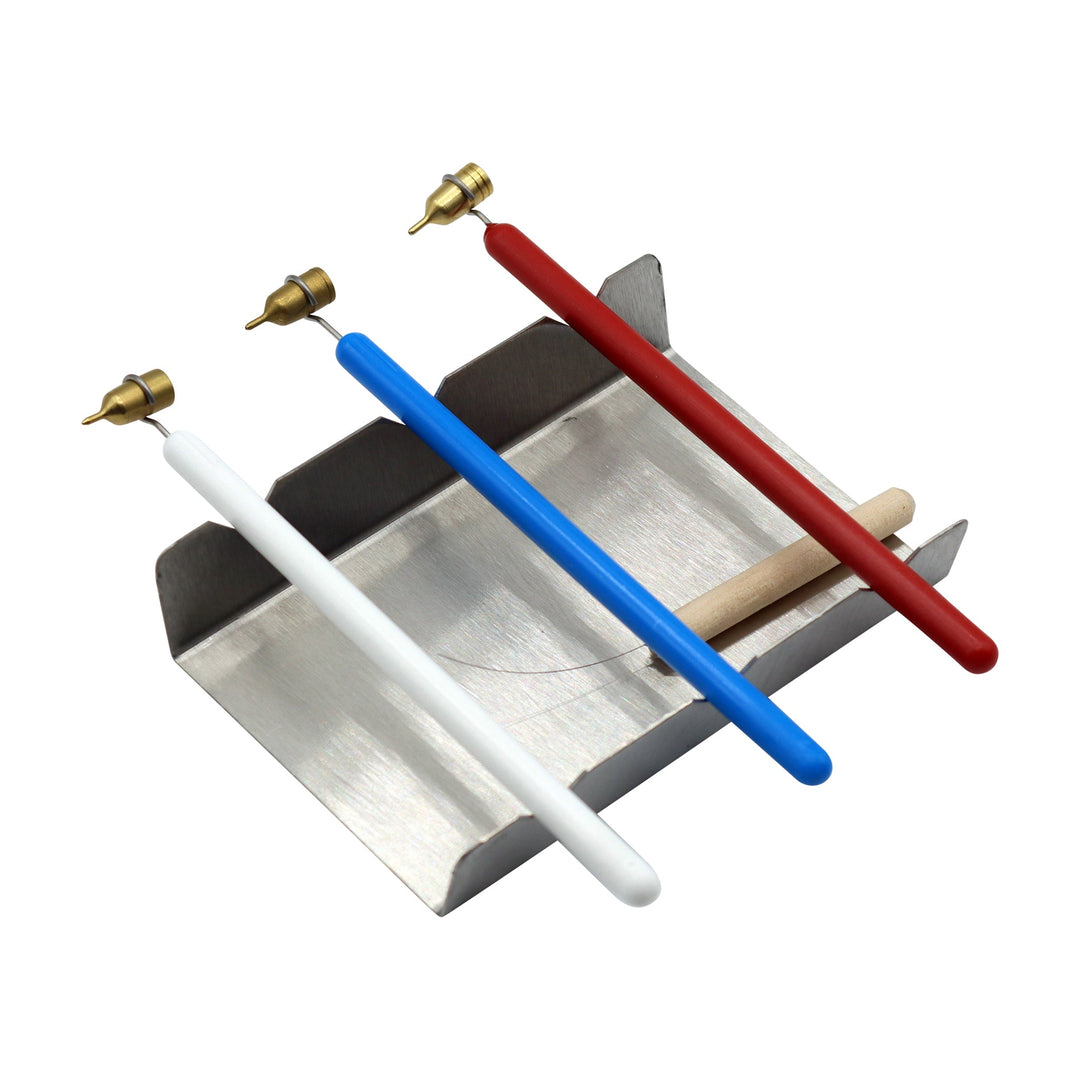
In the late 1970's the Ukrainian Gift Shop developed a machined kistka, which we call the delrin kistky. They are named after their handle, which is made of delrin, a lightweight, heat resistant plastic. The funnel is made of brass. A single wire holds the funnel and handle together.
Electric kistky have been gaining popularity over the past 10 years or more. Heat flow is constant with the electric kistka. This has become the preferred kistka of many egg decorators. However, beginners and ethnic purists still love the mystique of the traditional method of kistka and candle flame. All of the tools pictured here, and many more, can be purchased from our online store.
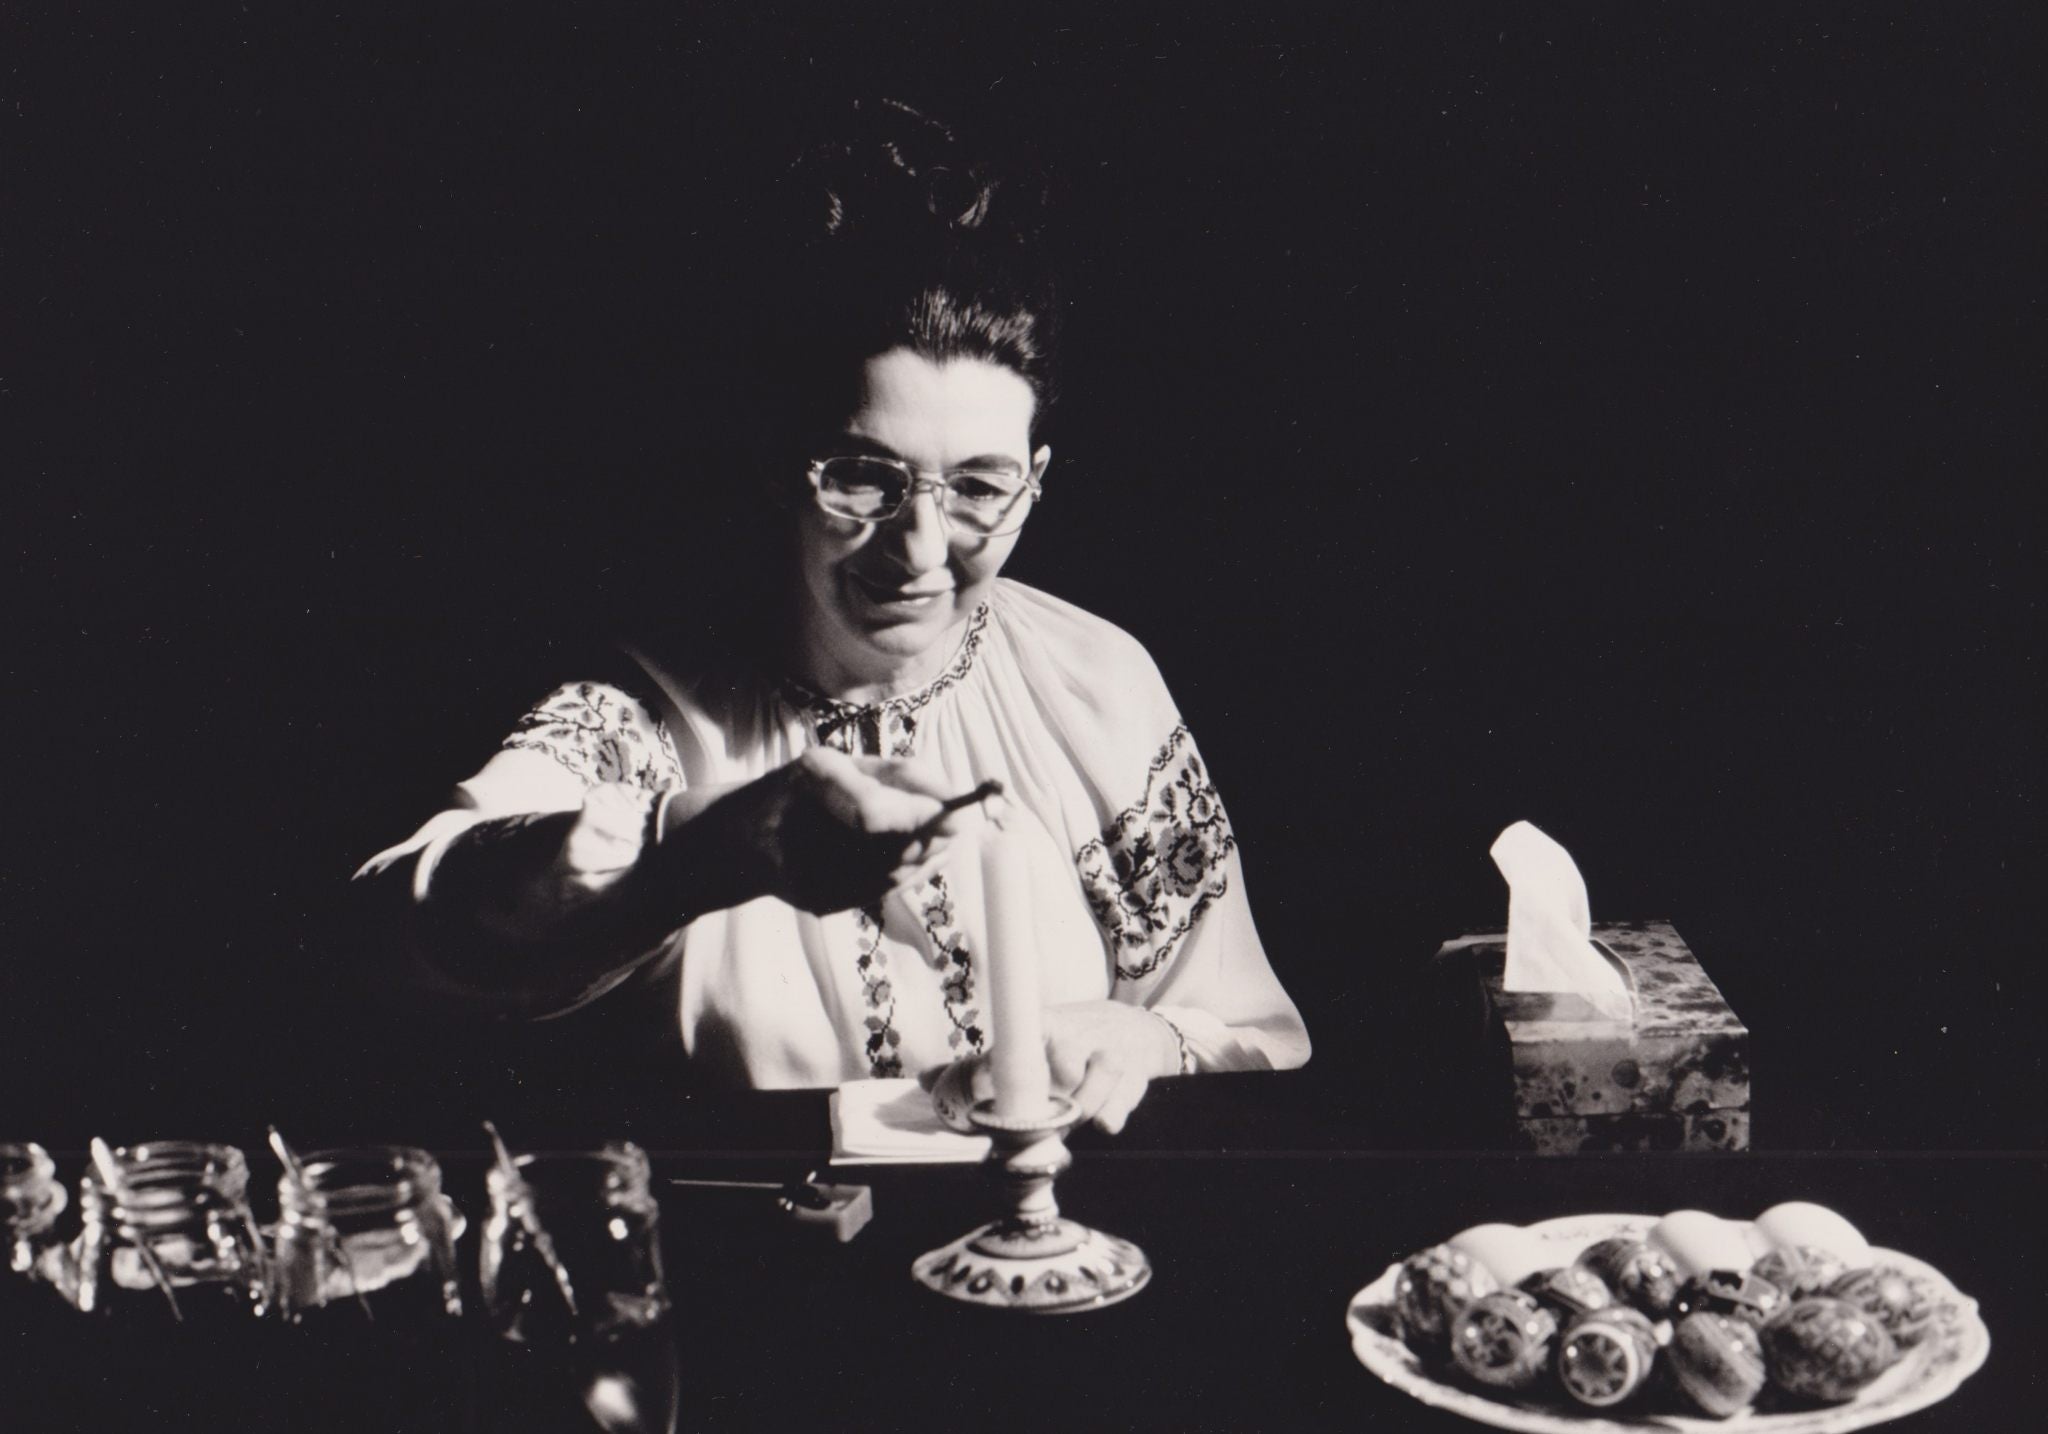
Melted wax is applied to the eggshell. This hot beeswax will harden almost instantly. The beeswax covers and seals the shell where the wax has been applied. A special tool called a kistka is needed to heat and apply the beeswax. As a rule the first application of beeswax is done on the white shell. Ordinarily the sequence of colors are dyed from lightest color to darkest color.
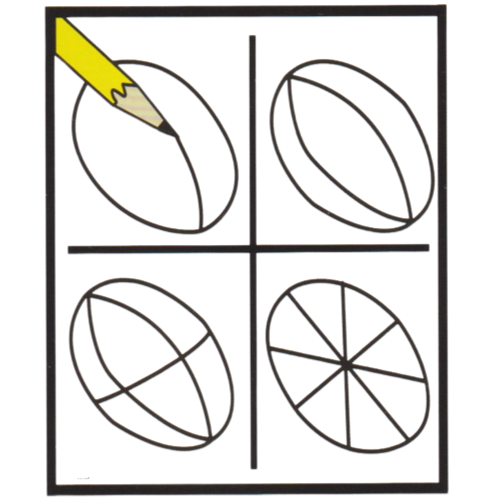
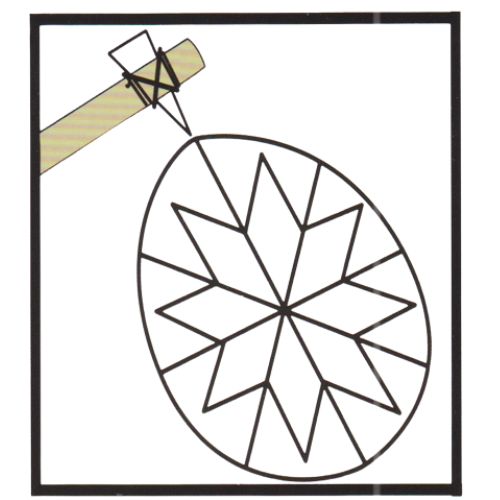
Draw your design lightly on the egg with a pencil before applying wax.Long, smooth lines are better than short, sketchy ones.
Write over pencil lines with wax, allowing the wax to flow smoothly. The wax will blacken. This blackening is beneficial. As soon as the kistka stops writing smoothly, reheat, add wax and continue.
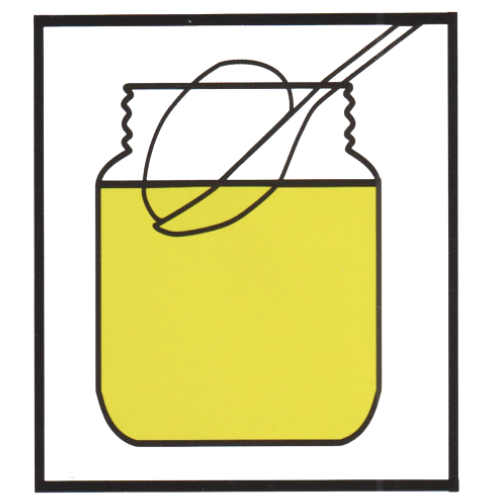
Complete your design. The wax lines you have made will be white on the finished pysanka. Place egg on a spoon and lower into yellow dye. Always start with the lightest dye color and work towards the darkest. When the desired shade is achieved, remove and pat dry the egg with tissue.
Continue your designs and dye baths until you get to your darkest color. Black, dark red, purple or royal blue may be used as your final background color.
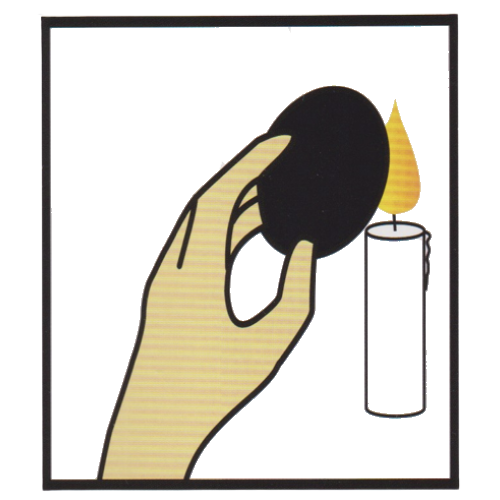
Remove the wax and your design will come to life. Hold the egg near the side of a candle flame for a few seconds until wax starts to melt. With a tissue or soft cloth, wipe away the wax, little by little, until all wax is removed.
Varnish the egg and place on an egg rack to dry. This will add protection and luster. Enjoy the beauty of your creation.
This is a simplified set of instructions. For more detailed instructions, consider purchasing our Color Instruction Folder (INSC) for $1.00 or one of our design books.
Melted wax is applied to the eggshell. This hot beeswax will harden almost instantly. The beeswax covers and seals the shell where the wax has been applied. A special tool called a kistka is needed to heat and apply the beeswax.
As a rule the first application of beeswax is done on the white shell. Ordinarily the sequence of colors are dyed from lightest color to darkest color.
Start with the white shell first. Apply melted beeswax to the white shell wherever you want white on the completed design. The beeswax seals the color underneath it. The next step is to dye the egg with the first color. The entire shell will change color, except underneath the beeswax. That part of the egg will remain white. As a rule, the first dye used will be yellow. Now, cover whatever part of your design that is to be yellow with melted beeswax. Dye the egg again into the next color, usually orange. Apply more beeswax. Dye the shell again. Repeat a few more times until you have finished layering all the colors of your design.
Customarily, no more than 5 colors are used on a pysanka. Too many colors will affect the brilliance of the individual dyes. Many colors are of the same hue and therefore not compatible on the same egg. Time and practice will teach reliable color sequences. There are several excellent books available with step by step designs. Following these steps take the guessing out of dye sequences. These books are a good way to start out.
Wax is not applied to the final color. When the shell has completely dried from its final dye bath, the beeswax will be removed. There are several methods to removing beeswax from the shell, but the oldest way is still the most magical. Place a section of the egg along the side of a candle flame. When that section becomes shiny, remove the shell from the heat and wipe clean with a tissue. Continue until all of thebeeswax is removed.
Oil based varnish or polyurethane wood finish can be applied to the shell upon completion to give it a beautiful gloss.
Gray represents areas where wax remains from prior stages.
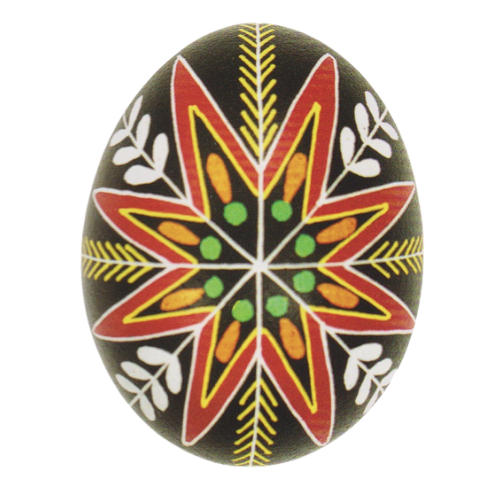
Here are some examples of symbols commonly found in Ukrainian Easter Eggs
This is a symbol of Christ. It can also represent flowers.
A common symbol for Christ and for Christians.
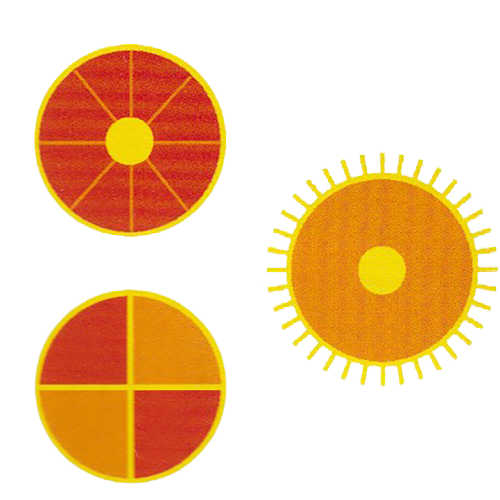
Symbolizes life, warmth, love of God and the eternal existence of God.
These represent eternal life.
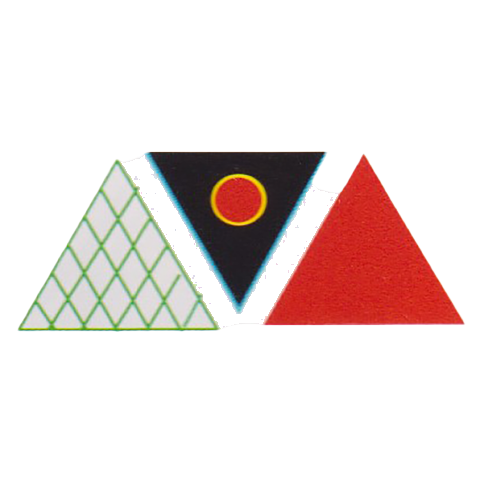
Denote the Holy Trinity. A triangle with a circle in the center denotes the eye of God.
Symbolize wealth and prosperity.
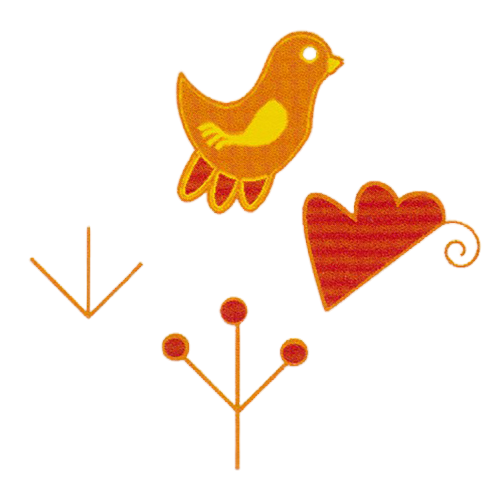
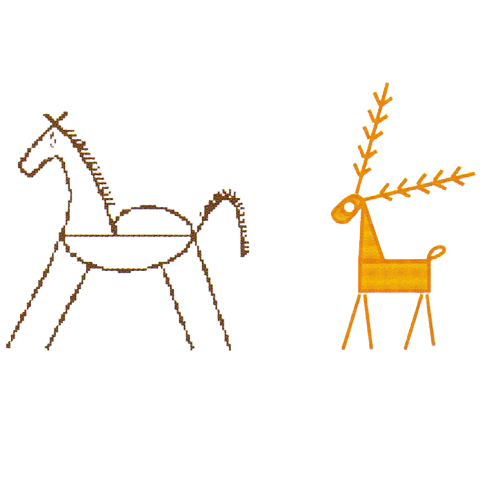
Exemplify fertility and fulfillment of wishes. Partial representations are frequently seen on pysanky. Hen's feet emphasize protection of young. Goose feet represent the spirit. Rooster's comb signifies masculinity.

Indication of Knowlege
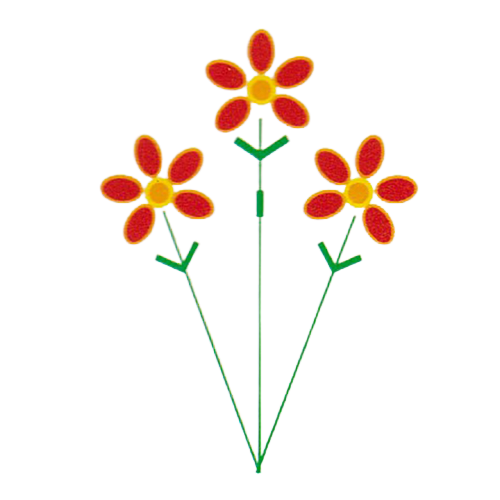
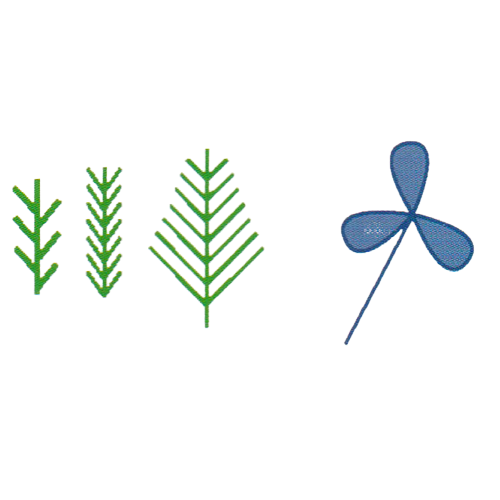
These express the female principle denoting wisdom, elegance and beauty. Leaves and flowers also suggest life and growth.

Signify the good fruits of the Christian life. Graphs and wheat represent Holy Communion. Grapes can also express strong or loyal love.
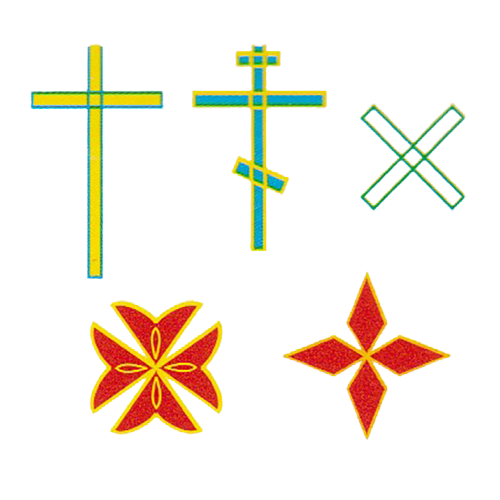
Crosses have several meanings and come in many different shapes. They always represent some aspect of Christian faith. Most commonly, the cross represents Christ's suffering and has become the symbol of Christianity.

Purity, Light, Rejoice, Virginity

Sun, Stars, Moon, Harvest, Warmth, Perpetuation of the Family

Spirituality, Wisdom

Endurance, Everlasting Sun, Ambition

Happiness, Hope, Passion, Blood, Fire, Ministry of the Church

Respect, Protection from Evil Powers

Sky, Air, Good Health, Truth, Fidelity

Spring, Breaking Bondage, Hope, Freshness, Wealth

Success, Contentment

Royalty, Faith, Trust, Patience, Fasting

Earth, Harvest, Generosity

Center of the Earth, Eternity, Darkest Time Before Dawn, Absolute

Mourning, Respect to Spirits

Family Happiness, Peace and Love